> ## Documentation Index
> Fetch the complete documentation index at: https://docs.neterial.cloud/llms.txt
> Use this file to discover all available pages before exploring further.
# Connect AWS
> This guide will help you to connect your AWS account to Neterial
## Using Neterial Web Console
1. Go to [Add AWS Cloud Provider page](https://console.neterial.cloud/user/add-provider?provider=aws)
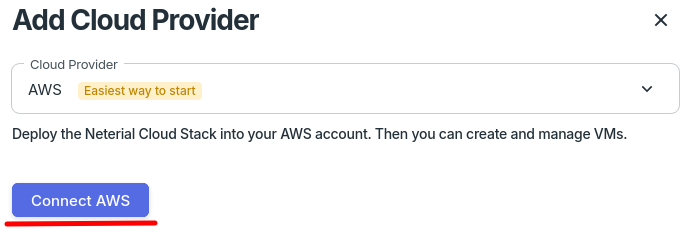
2. Click "Connect AWS". It will open "Quick create stack" page in AWS console.
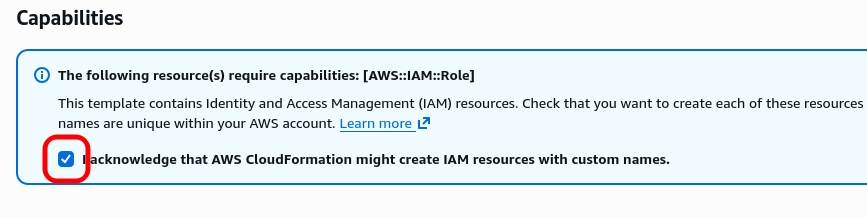
 3. Select the "I acknowledge that AWS CloudFormation might create IAM resources with custom names" checkbox
 4. Click the "Create stack" button. This will run installation.
 5. Go back to [Providers page](https://console.neterial.cloud/user/providers) and wait \~1 min until the AWS provider gets status "Connected"